Kakao Login (Web)
Logging in on the web requires additional steps due to the page redirection method using a redirect URI.
All APIs except for login can be used similarly to those in Kakao Login.
Logging In
You can perform tasks like user registration, login, receiving additional consent, and obtaining agreement for terms using Kakao Login.
Adding Redirect URI in Kakao Console
Add a Redirect URI in the Kakao Login section of the Kakao Console.
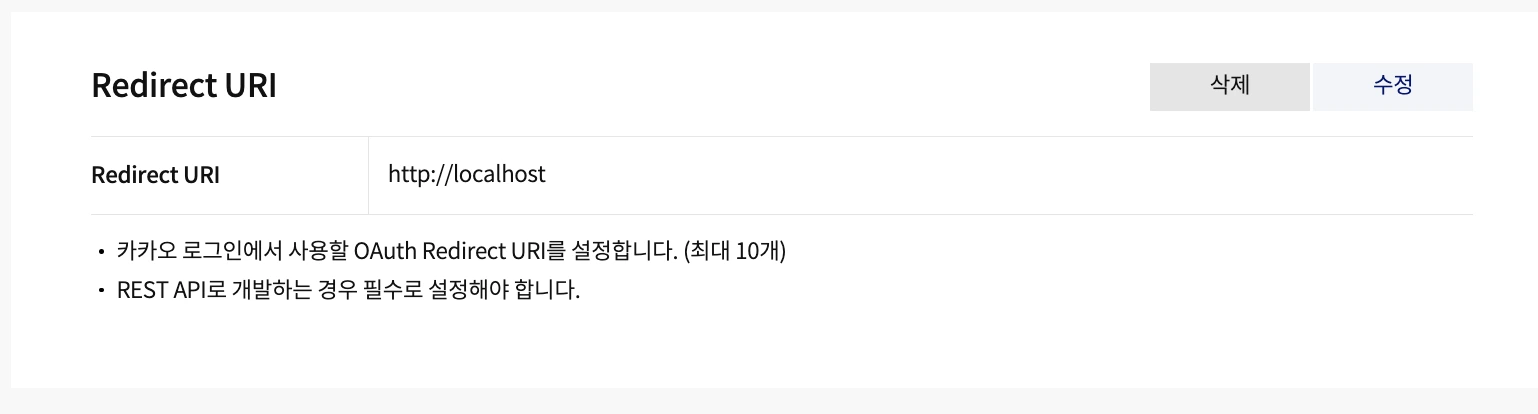
The example shown is for using port 80 in a development environment. You should specify the required Redirect URI for both the development and release environments.
const { code } = useGlobalSearchParams<{ code?: string }>();
const accessTokenIssued = useRef(false);
useEffect(() => {
  const go = async () => {
    const { accessToken } = await issueAccessTokenWithCodeWeb({
      code: code!,
      redirectUri: 'http://localhost',
    });
    setAccessTokenWeb(accessToken);
    accessTokenIssued.current = true;
  };

  if (code && !accessTokenIssued.current) {
    go();
  }
}, [code]);
Step 1: Retrieve Authorization Code via Search Parameter from the Redirected Page after Simple Login
Calling the login() function redirects the user to the Kakao login page.
For the web platform, the web object must be passed.
Other options outside the web object are ignored.
For example, the prompt value is set both inside and outside the web object, but only the prompt inside the web object is used on the web platform.
import { login } from '@react-native-kakao/user';

...

login({
  web: {
    redirectUri: 'http://localhost',
    prompt: ['select_account'],
  },
})
The redirectUri used in the console registration, when calling login, and for issueAccessTokenWithCodeWeb must match for proper functionality.
Refer to the Official Documentation for detailed information on the parameters.
Step 2: Issue Access Token with Authorization Code
Use the issueAccessTokenWithCodeWeb() function to obtain the actual Access Token using the authorization code.
Once you have the Access Token, pass it to the setAccessTokenWeb() function.
The example below demonstrates completing the login in an Expo router environment using the code from the search parameter.
const { code } = useGlobalSearchParams<{ code?: string }>();
const accessTokenIssued = useRef(false);
useEffect(() => {
  const go = async () => {
    const { accessToken } = await issueAccessTokenWithCodeWeb({
      code: code!,
      redirectUri: 'http://localhost',
    });
    setAccessTokenWeb(accessToken);
    accessTokenIssued.current = true;
  };

  if (code && !accessTokenIssued.current) {
    go();
  }
}, [code]);
The example provided is for illustration purposes. The key is to retrieve the code from the search parameter and then sequentially call issueAccessTokenWithCodeWeb and setAccessTokenWeb.
Refer to the Official Documentation for detailed information on the parameters.
Response
Returns token-related information via a Promise.
The response includes the following:
{
  tokenType: string;
  accessToken: string;
  idToken?: string;
  expiresIn: number; // unix
  refreshToken: string;
  refreshTokenExpiresIn: number; // unix
  scope?: string;
};